Using Super Page Cache with WP Rocket
This article contains the instructions to use Super Page Cache along with WP Rocket.
General recommendations
Do not duplicate features in Super Page Cache and WP Rocket because this can cause issues on your website.
Keep in mind that WP Rocket has some automatic features, so these should be deactivated in Super Page Cache.
Steps to integrate Super Page Cache with WP Rocket
Follow the integration steps listed in the plugin:
- Disable WP Rocket and make sure no
advanced-cache.phpfiles of other plugins are into the/wp-content/directory. - Enable Super Page Cache.
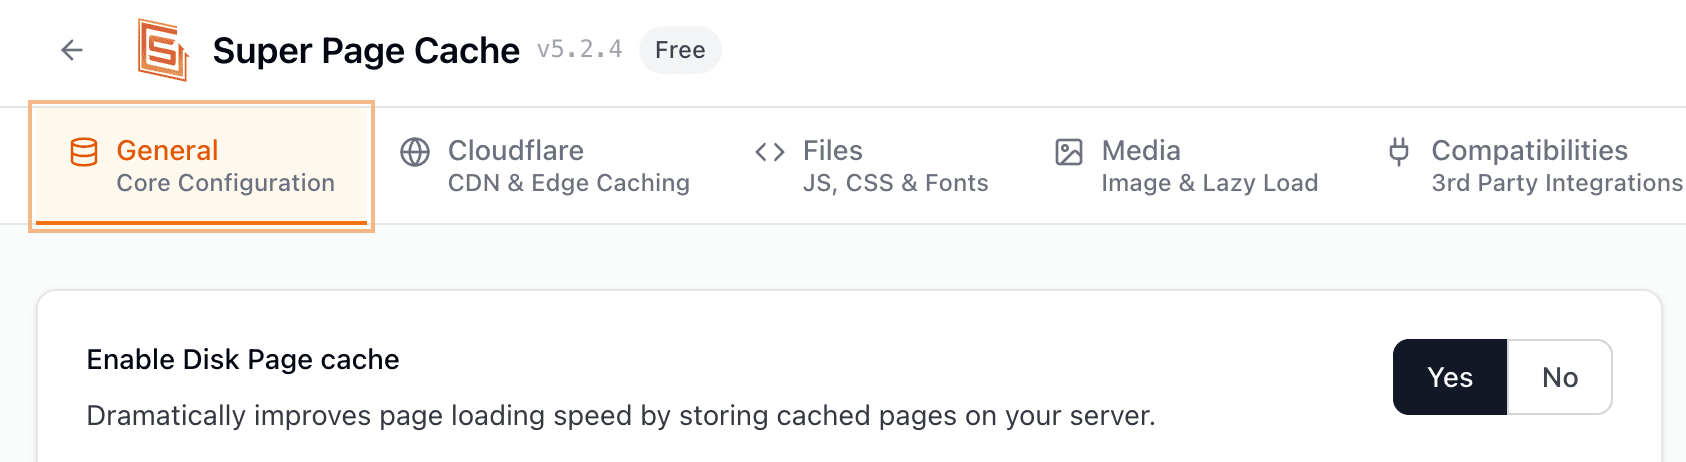
- Activate the Super Page Cache > General > Enable Disk Page Cache option.
- Go to the Super Page Cache > Compatibilities > WP Rocket settings section and enable all the options.
- Purge the Super Page Cache cache.
- If you are not under LiteSpeed server or are you using LiteSpeed server version >= 6.0RC1, enable the option Overwrite the cache-control header for WordPress's pages using web server rules.
- Enable WP Rocket again.
- Purge WP Rocket cache

How to disable page cache in WP Rocket
To disable page cache in WP Rocket you need to switch the Super Page Cache > Compatibilities > Disable WP Rocket page cache option:

With this configuration, the page caching in WP Rocket will be disabled, while optimization is still applied.
Advanced-cache.php warning
If you have a warning regarding the advanced-cache.php file in the dashboard, it is safe to ignore it. More information can be found here.